
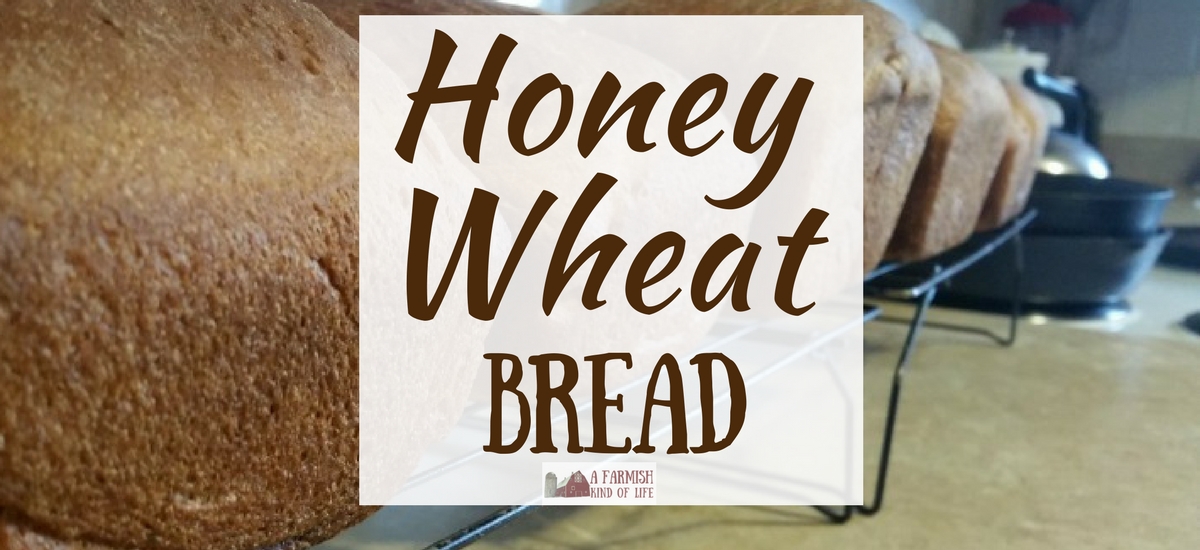
Honey Wheat Bread: Perfect for Sandwiches
A Farmish Kind of Life is a participant in the Amazon Services LLC Associates Program, an affiliate advertising program designed to provide a means for sites to earn advertising fees by advertising and linking to Amazon.com. You can view our full affiliate disclosure here.
With all the bread baking that I do, I often get asked for a good sandwich bread recipe. Here at Clucky Dickens Farm, our go to sandwich bread recipe is Honey Wheat Bread.
This recipe makes 4-5 loaves, but you can certainly cut it in half to make two loaves if that works better for you. When I bake bread, I like to make a lot at once and stick the extra in our freezer. If I’m gonna make a mess of the kitchen, I’m going to get as much bread as I can out of the experience!
Honey Wheat Bread
recipe makes 4-5 loaves; can be cut in half to make two loaves instead
Ingredients:
2 envelopes yeast (or 5 tsp bulk yeast)
1 cup warm water (110-115 degrees)
1/2 cup lard, melted (or whatever oil your family prefers)
2/3 cup milk
4 cups warm water
3/4 cup honey
2 Tbsp salt
8 cups wheat flour
5 cups white flour
Directions:
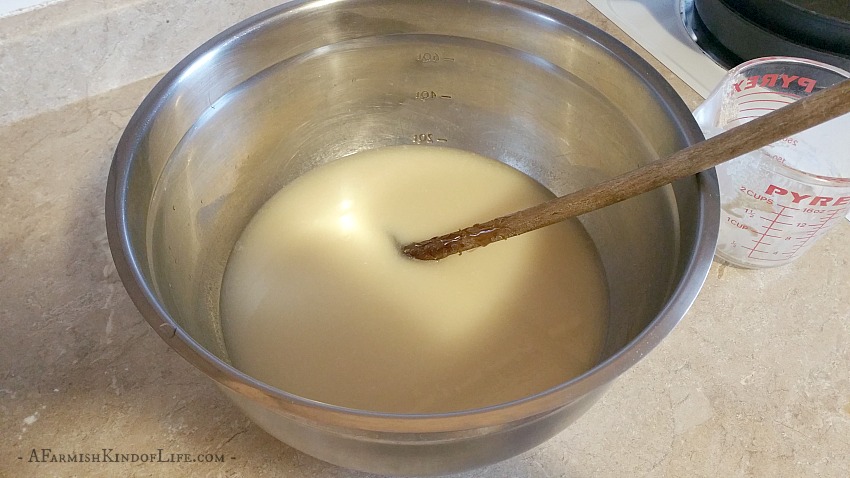
Add the yeast to the 1 cup of warm water, and set it aside for a few minutes.
In a separate large mixing bowl, combine the melted lard, milk, 4 cups water, honey, and salt. Then add the yeast/water you had setting aside to this. You’re gonna end up with a nice bowl of liquid.
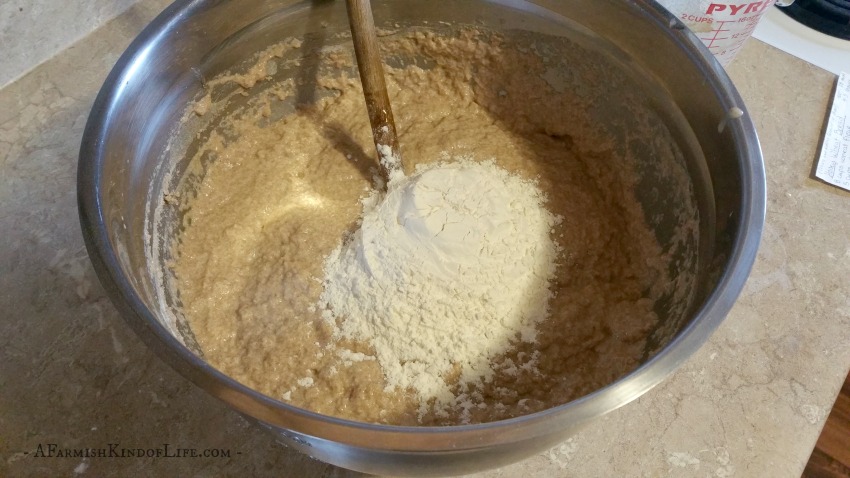
Add the wheat flour, one or two cups at a time, stirring after every addition. Do not dump all 8 cups in at once. Patience. Bread takes time.

When you have patiently and slowly added and mixed in all the wheat flour, continue to add the white flour, 1 cup at a time—stirring after every addition.
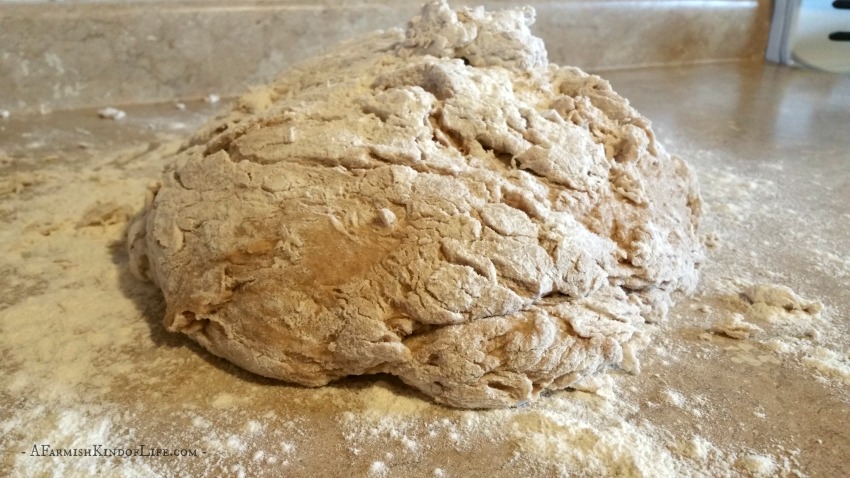
How do you know it’s time to start kneading? If your bread dough is super wet, it will stick to the counter. Keep stirring in the bowl and adding flour as needed until your dough isn’t visibly wet or sticky.

When your dough isn’t goopy anymore, turn it out onto a floured table or countertop and knead, adding more white flour as needed.
Note: The thing about baking bread is that it’s as much of an art as it is a science. When a recipe lists a certain amount of flour in the ingredients, the amount is merely a suggestion.

A lot of things can affect how much flour your bread actually requires on any certain day, especially the amount of humidity in the air. For instance, on the day I made this particular batch of bread, it took an extra five cups of flour to get it to the right consistency—it was a very humid day. In other words, the recipe said 13 cups of flour, but I needed 18 cups of flour when it was all said and done.
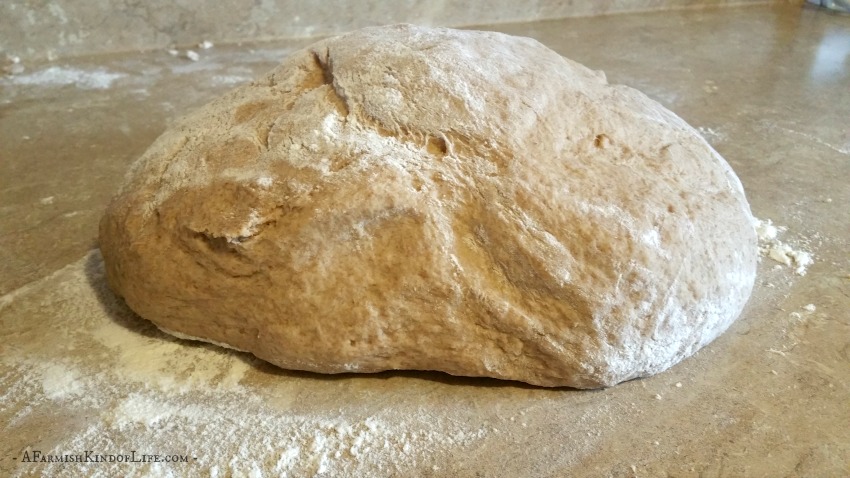
Place the kneaded dough in large greased bowl. I use a lovely antique I received many years ago as a gift that I affectionately refer to as a “bread raiser thing”. People who actually know what they are talking about apparently call it an enamel dough bowl. Cover the dough (lid of bowl or a clean dishcloth) and let the dough rise one hour.

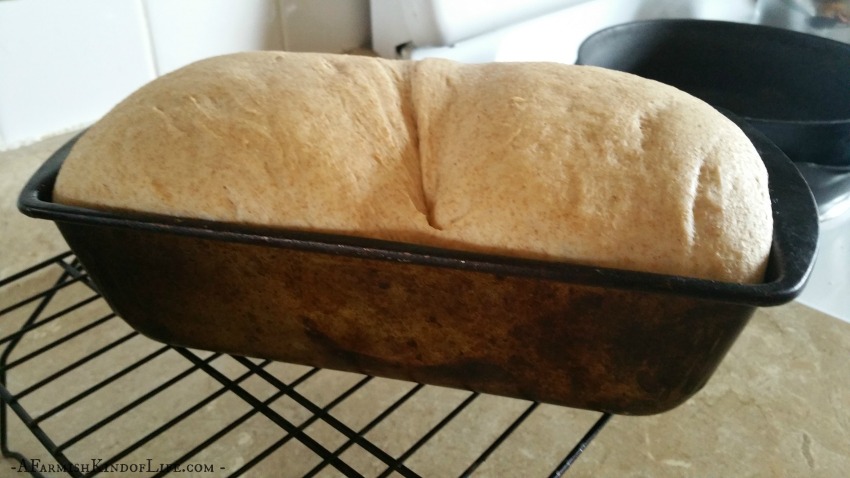
After an hour, punch the dough down. Then divide into 4-5 loaves. (The amount of flour you’ve actually ended up using will determine whether your get 4 or 5 loaves. I almost always get 5.) Place the loaves in greased loaf pans and let them rise another 30-45 minutes (covered with a clean dishtowel). They’ll start popping out of the loaf pan.
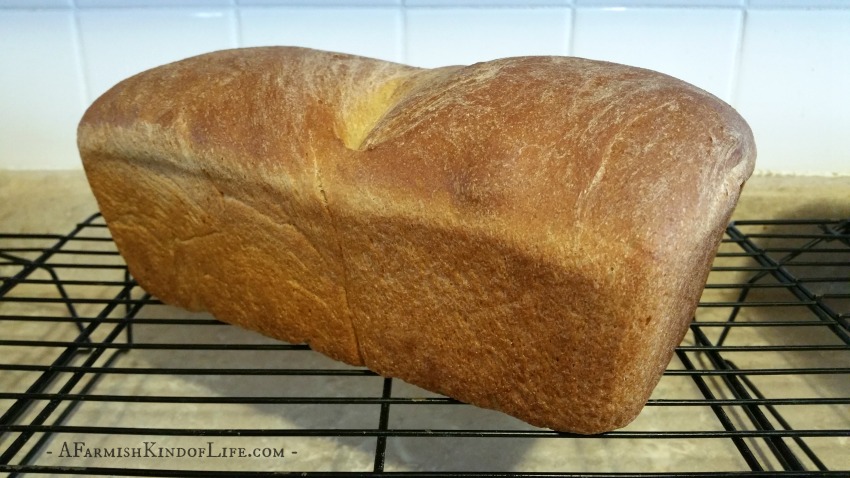
Bake at 400 for 28 minutes. Let them cool a couple minutes and then turn them out from the pans and set on cooling racks. I’ve found if you let the loaves sit in the pans too long, the bottoms of the loaves get soggy.

These loaves work well for sandwiches. They also work really great for grabbing warm from the counter and enjoying with a gob of butter. It’s happened here. Just saying.

Honey Wheat Bread
This recipe makes 4-5 loaves. Great for sandwiches!
Ingredients
- 2 env yeast (or 5 tsp bulk yeast)
- 1 cup warm water
- 1/2 cup melted lard (or whatever oil your family uses)
- 2/3 cup milk
- 4 cups warm water
- 3/4 cup honey
- 2 Tbsp salt
- 8 cups wheat flour
- 5 cups white flour
Instructions
-
Add the yeast to the 1 cup of warm water, and set it aside for a few minutes.
-
In a separate large mixing bowl, combine the melted lard, milk, 4 cups water, honey, and salt. Then add the yeast/water you had setting aside to this.
-
Add the wheat flour, one or two cups at a time, stirring after every addition. Do not dump all 8 cups in at once.
-
When you have patiently and slowly added and mixed in all the wheat flour, continue to add the white flour, 1 cup at a time—stirring after every addition.
-
When your dough isn’t goopy anymore, turn it out onto a floured table or countertop and knead, adding more white flour as needed.
-
Place the kneaded dough in large greased bowl. Cover the dough (lid of bowl or a clean dishcloth) and let the dough rise one hour.
-
After an hour, punch the dough down. Then divide into 4-5 loaves. (The amount of flour you’ve actually ended up using will determine whether your get 4 or 5 loaves. I almost always get 5.) Place the loaves in greased loaf pans and let them rise another 30-45 minutes (covered with a clean dishtowel).
-
Bake at 400 for 28 minutes. Let them cool a couple minutes and then turn them out from the pans and set on cooling racks. I’ve found if you let the loaves sit in the pans too long, the bottoms of the loaves get soggy.


This looks so good! I’ve never tried lard in my bread, but I might just give it a try now–thanks for the idea.
Lard was the oil my great-gradmother used in her bread recipe. The size of a hen’s egg, added to really warm water and melted.
This looks delicious, will have to give this recipe a try soon. Thanks for sharing.
Just made this and it is HEAVENLY. First time baking bread without the bread machine and I don’t think I’ll ever go back
I’m glad it turned out so well for you! It’s one of our favorites. 🙂
looks AMAZING! I reaaly can’t wait to give it a try.
Unfortunately, I can’t find the “prin” link. Searched the page about 5 times.
Printing from the main pages gives me 18 pages.
Can you send me a link?
Thank You! I have already printed about 6 of your recipes. Got a family dinner this Saturday. I am making Desseert from one of your recippes.
Wonderful site, too!
Update: It has been fixed and you should be able to print the recipe now!
There seems to be an issue with some of the recipe cards disappearing from some of my posts. I will go through them tomorrow and see what I can remedy so you can print the recipe like normal! Thanks for bringing this to my attention. 🙂