
How to make homemade bacon
Podcast: Play in new window | Download
Subscribe: RSS
A Farmish Kind of Life is a participant in the Amazon Services LLC Associates Program, an affiliate advertising program designed to provide a means for sites to earn advertising fees by advertising and linking to Amazon.com. You can view our full affiliate disclosure here.
If you’re like me, you know that bacon is the stuff that dreams are made of. I really believe that through the power of bacon, we can make the world a better place. With that in mind, I’m gonna show you how to make homemade bacon in five lil’ steps.
BACON. (Mmmm. Bacon.)
(Don’t want to read all the words? This blog post is also a podcast—just press the triangle play button on the little black bar at the top of this post!)
Now—to be clear—this is how we go about makin’ homemade bacon at Clucky Dickens Farm. If you do a google search of how to make bacon, you will come up with lots of different recipes. Our process requires uses a wet cure/brine and we utilize a smoker.
Everyone has their own thing and their own preferences. The great thing about making your own bacon is the more experience you have with making it, the more tricks you will figure out.
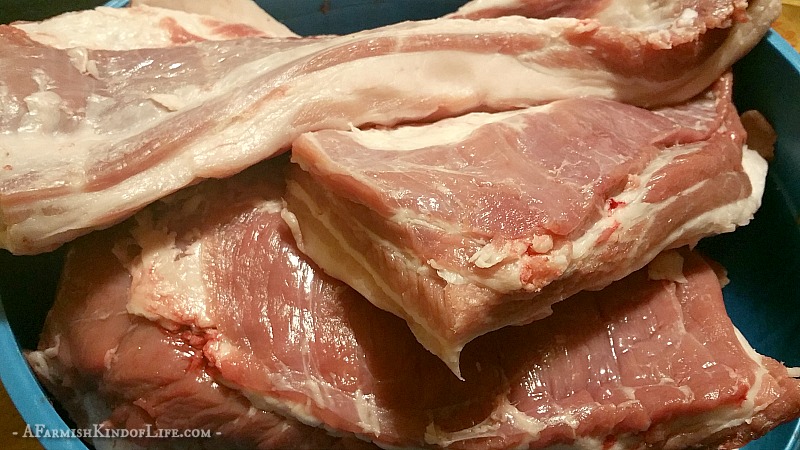
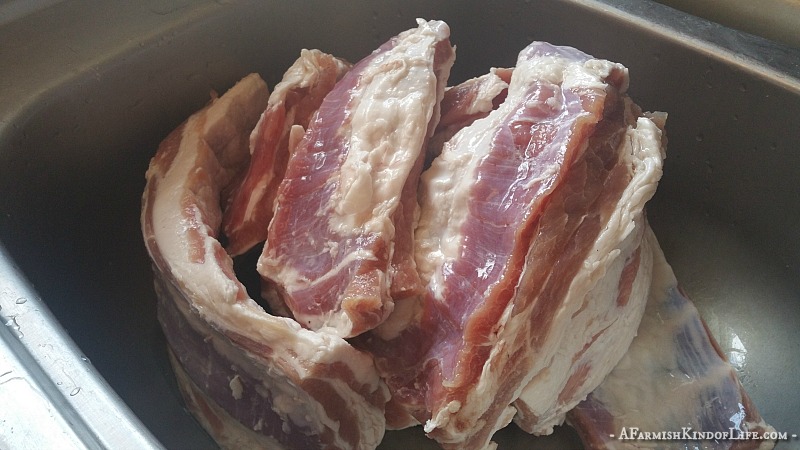
Step #1 to homemade bacon: find a pig belly
Bacon comes from the belly of the hog. It’s the underside of the pig. Some pigs are better for makin’ bacon than others. A really long-bodied pig is going to provide you with a much longer slab of belly meat than a shorter-bodied pig.
If you don’t raise your own hogs, you’ll need to find some pork belly from someone local or a butcher. The availability of this will totally depend on where you live. We raise our own pigs because a) pigs are awesome, b) we’re lucky enough to have a place to do so, and c) well, bacon.
Little tip: We’ve made homemade bacon for several years now and what we’ve discovered is it is best to make the bacon before the pork belly cuts go into the freezer. In years past, we have frozen all the cuts from the pork belly to make bacon at a later date.
No, no, no, grasshopper.
This year we took the pork belly and immediately started this process at the very end of the butchering/processing excitement. You can really tell the difference in the taste of the bacon.
(Although if you do already have the pork belly frozen and want to make homemade bacon, don’t let this stop you. It’s still going to be awesome.)
Step #2 to homemade bacon: brine/cure
 Some people refer to this part as brining, others refer to it as curing. Whatever it is, it’s the longest part of the bacon process—unless you count raising the pig. We’ve experimented with several different brines/cures but here is what we’ve settled on using thus far:
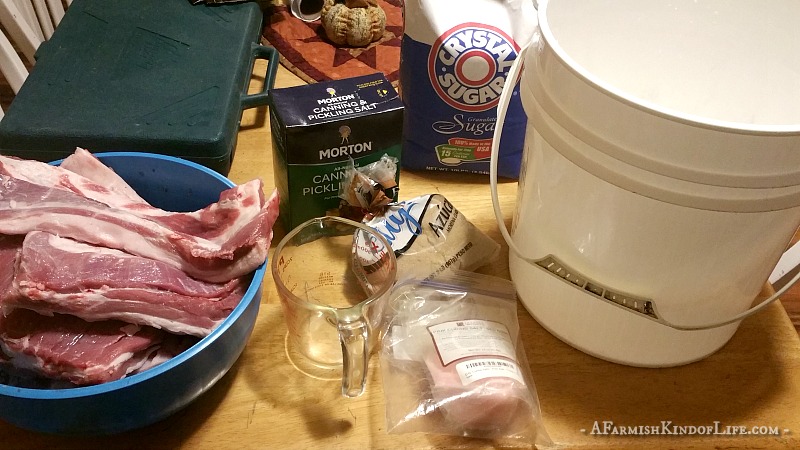
Homemade Bacon Wet Brine: (Printable recipe at bottom of blog post!)
To one gallon of warm water, add…
1 cup brown sugar
1 cup white sugar
1 cup salt (canning salt or kosher salt, not iodized salt)
1 tsp pink curing salt/Insta Cure #1 (not #2)
(We have also used this recipe using 1 Tbsp of pink curing salt. It’s all about your comfort level with the whole nitrate argument.)
Mix until dissolved.
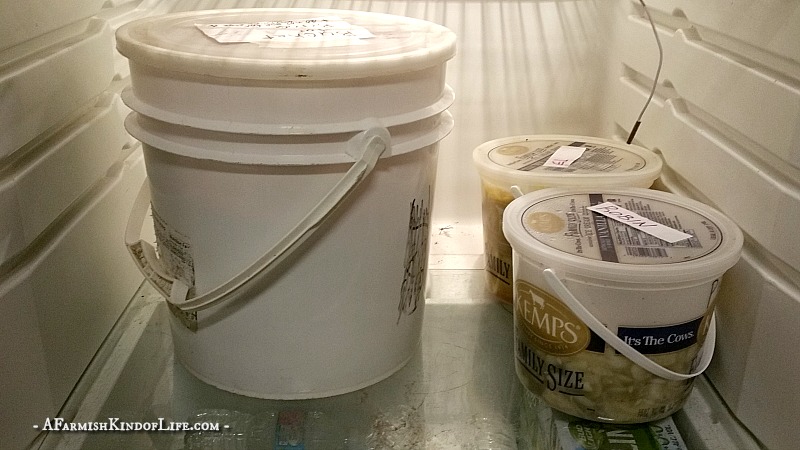
Place your nicely trimmed pork belly chunks into a five gallon pail. Pour the brine over the meat, and keep adding more brine made with the above portions until the meat is completely covered with liquid. (It usually takes us 2 gallons of brine to cover the meat in a five gallon bucket, but your experience may be different.)

Fill a plastic bag with water and set it on top of all of this. The water filled bag will prevent the meat from shifting or floating to the top of the bucket. It is very important that the meat stays completely submerged in this brine for 10-14 days—not just for flavor of your homemade bacon, but for the safety of your gut.
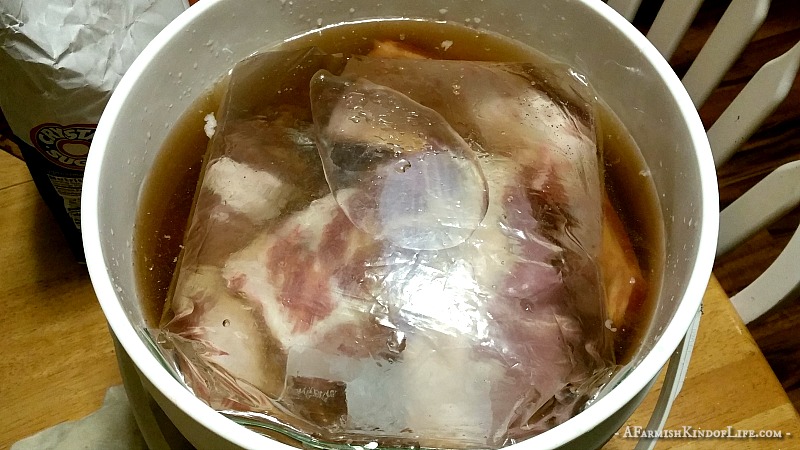
Cover the bucket and set in the fridge for 10-14 days. This works especially great if you have an extra fridge (like—ahem—a beer fridge). You do not need to stir what’s in the bucket. Just let it sit undisturbed.
Be patient and dream of homemade bacon.
Note: Look ahead in your calendar and figure out what day you’re going to tackle the next three steps. It’s going to take some work and attention so you want to make sure you’ve got a day you can make it happen.
Step #3 to homemade bacon: smoke
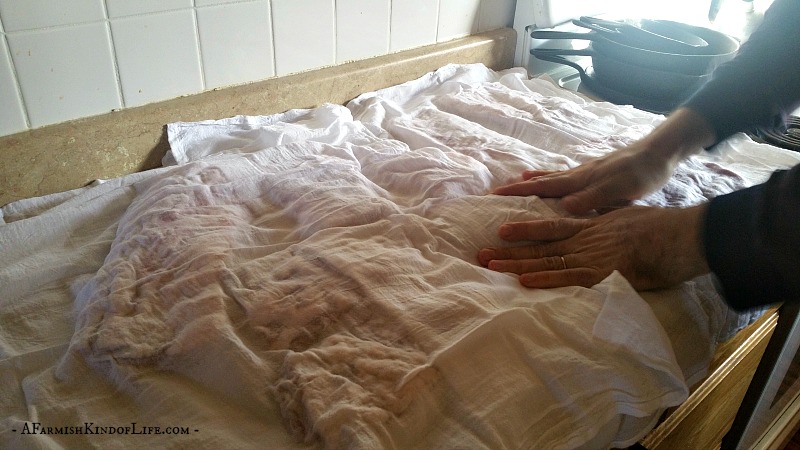
10-14 days later, you’re ready for the awesome and the magic! Take all the chunks of meat out of the bucket and rinse each one in cold water.
Then let them dry a bit. Towel them off if you’re a bit impatient about your homemade bacon dream.
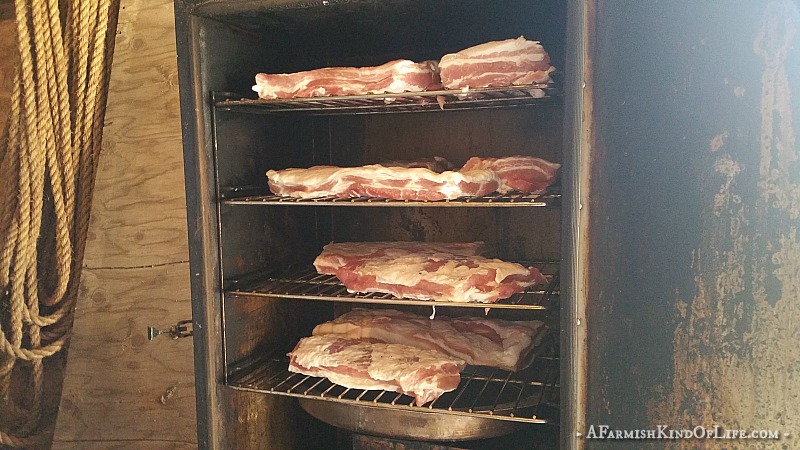
Now it’s into the smoker! We have a Masterbuilt Electric Smoker which we use often and are very pleased with. It’s easy to use and reliable.
Whatever smoker set up you have…it’s time to fill that baby up with meat, close the door, and let the smoker do its thing.
The length of time this takes is going to depend on your individual smoker, how much meat you’ve put in there, how thick the cuts are, the weather, etc.
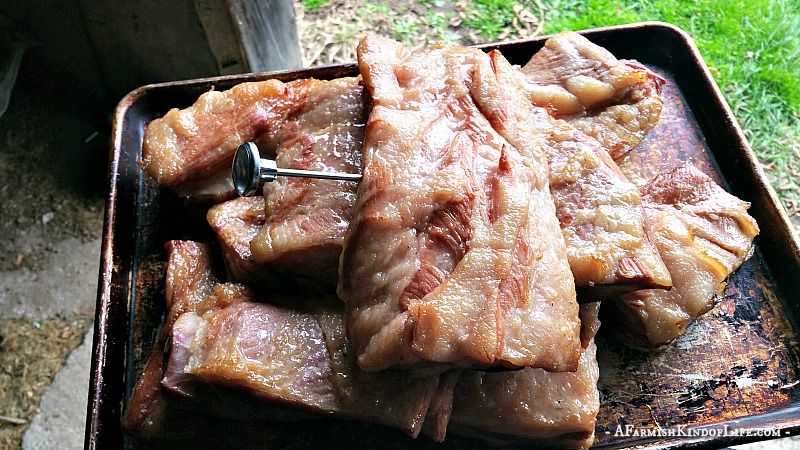
It’s a good idea to employ the use of a couple different meat thermometers. While the meat is cooking, we like to use a Taylor Digital Cooking Thermometer. We always check it with a second meat thermometer to ensure everything is done.
Your homemade bacon is done smoking when the internal temperature reaches 160 degrees.
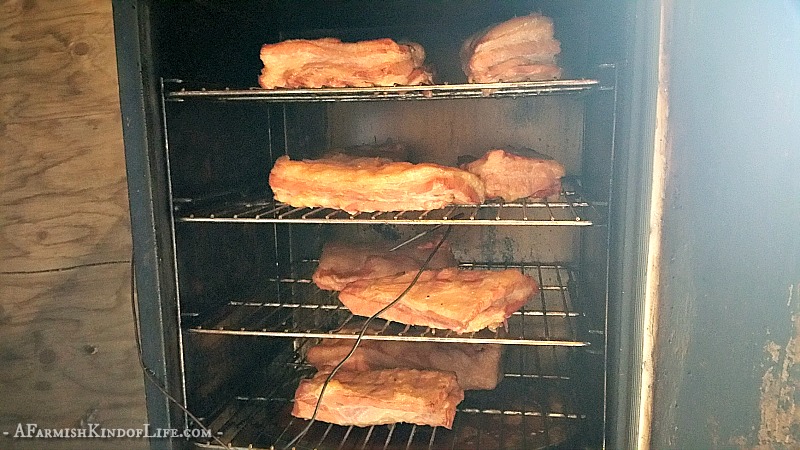
For this particular Clucky Dickens Farm homemade bacon experience, we smoked the meat at 180 degrees and it took about three hours to get done.
Take the bacon back in the house (carefully! Remember it’s been in a hot smoker for three hours!) and let it cool. Letting it cool a bit before you mess with it further helps the flavors inside to get cozy with each other.
You’re also going to want the meat at a temperature your hands can handle for the next step, which is…
Step #4 to homemade bacon: slice and package
Do you like thin sliced bacon? Thick sliced?
(Do you just like bacon and want it fried up right now so you can get it in your belly?)
You can slice up your homemade bacon with a knife (we use the knives in this processing kit often) but what really makes the job super slick (and what we use to get the job done quickly and uniformly) is an electric meat slicer. This Nesco Professional meat slicer is a huge time saver for us.
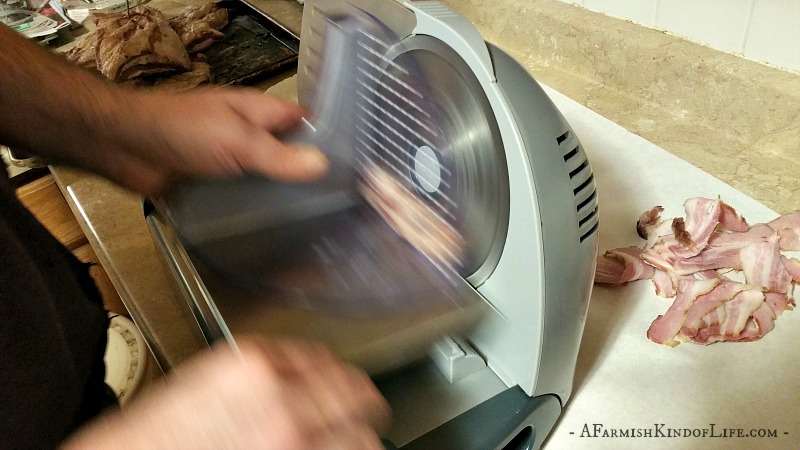
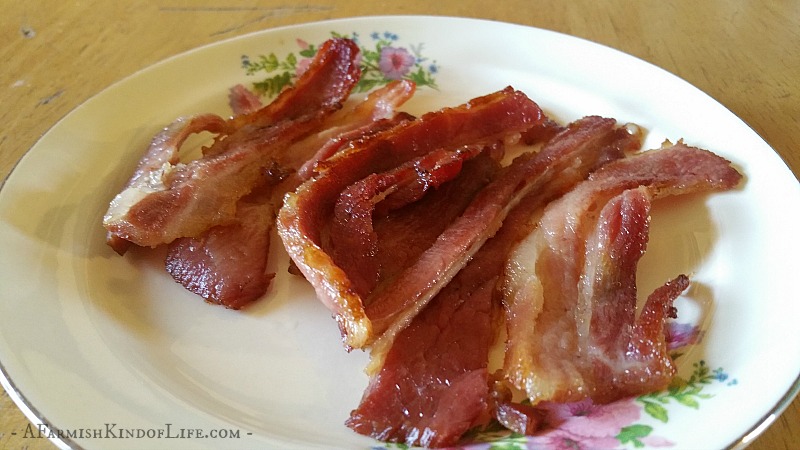
Set the thickness, push the meat to the blade using the guard, run the meat back and forth across the blade, and there you go.
Slices of heavenly homemade bacon.
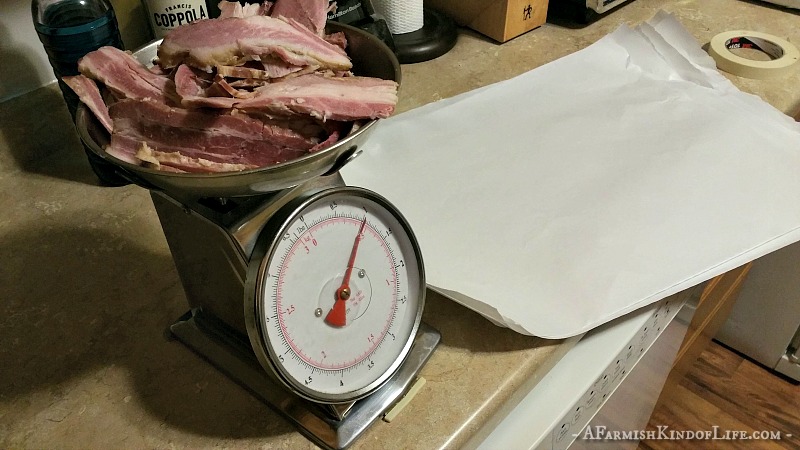
Assuming you’re not going to eat everything you’ve just made in one sitting, weigh and wrap as usual. We do one-pound packages. Wrap in freezer paper or seal in vacuum sealer bags. (We prefer vacuum sealer bags now, but have used paper in the past without issue.)
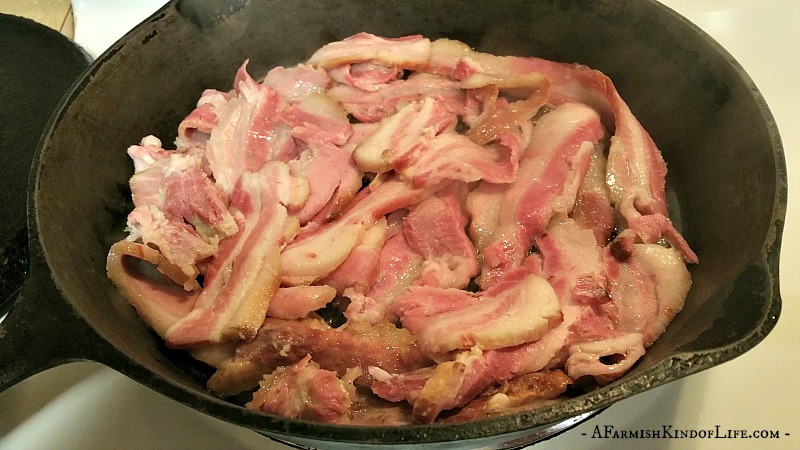
Step #5 to homemade bacon: fry and eat
You might have some homemade bacon that wasn’t wrapped up to freeze.
Of course you do.
This is what you’ve been waiting for. This is the payoff. Get out your cast iron skillet and fry that stuff up.
Don’t argue about who likes crispy bacon…
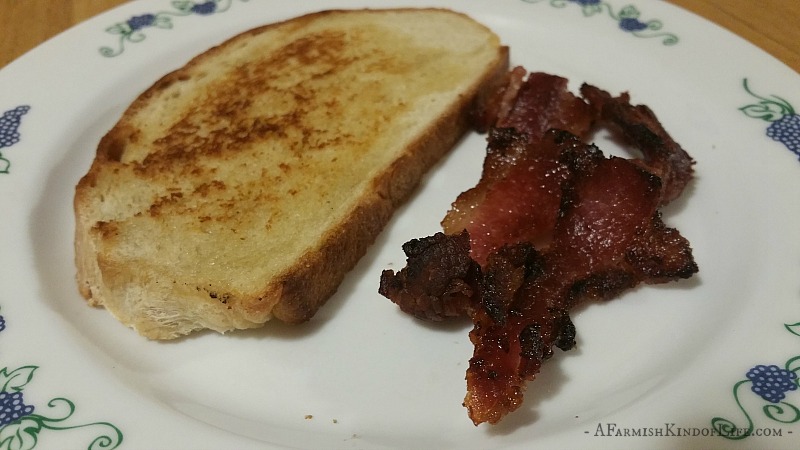
and who likes floppy bacon…
…because for goodness sakes, y’all, you just made homemade bacon!! Rock on with your bacony selves!!

Do you raise your own pigs? Here are a few of my posts that you might find helpful…
Cuts of Meat: Butchering and Processing a Pig at Home
How to Render Lard in a Crock Pot
Is bacon made from side pork or pork belly? Here’s a great explanation…
What’s the difference between pork belly and side pork?
Another option, if you don’t want to use a wet brine — here is a dry version we’ve used and really enjoy…
LEM Backwoods Maple Bacon Cure

Homemade Bacon Wet Brine
Use this wet brine to make bacon from pork belly/side pork right at home!
Ingredients
- 1 gallon warm water
- 1 cup brown sugar
- 1 cup white sugar
- 1 cup salt (canning or kosher, not iodized)
- 1 tsp pink curing salt/ Insta Cure #1 (can use up to 1 Tbsp)
Instructions
-
Combine all brine ingredients, mix until dissolved.
-
Place your nicely trimmed pork belly chunks into a five gallon pail. Pour the brine over the meat, and keep adding more brine made with the above portions until the meat is completely covered with liquid. (It usually takes us 2 gallons of brine to cover the meat in a five gallon bucket, but your experience may be different.)
-
Fill a plastic bag with water and set it on top of all of this. The water filled bag will prevent the meat from shifting or floating to the top of the bucket. Cover bucket and put in refrigerator.
-
Let pork sit in brine, completely submerged, for 10-14 days.
-
After 10-14 days, take pork out of brine and rinse in cold water. Dry completely.
-
Smoke at 180 degrees until internal temp of bacon reaches 160.
-
Let cool. Slice. Package. Freeze.


Will definitely be giving this a shot! Love Bacon and it’s outrageously expensive. Thanks for the info.
I’m going to try this with wild boar. And maybe I’ll try venison, trimmed of fat of course. It would be a nice change from jerky. I tried to make bacon once before, but that recipe didn’t use water. It was delicious, but not real bacon. Your recipe makes more sense to me. Thanks.
Followed your recipe and have the meat sitting in the fridge right now. Are you sure about that curing salt measurement? When I made brine for my hams it used 2 TBSP per gallon of brine….1 tsp sure seems low. Guess I’ll find out in a week or two…
I could confirm again with my hubby, but I’m almost positive that’s what we used. 🙂 Let us know how it turns out?
Worked out fine! My bacon is way too thick because I don’t have a meat slicer, but it was the right color and the flavor is great. Thanks!
Glad to hear! Thanks for the update!
just about ready to butcher our pigs and i am going to try your bacon brine recipe. Was wondering if you have a favorite recipe for curing and smoking your hams
I’ve got one coming to the blog soon!
Thank you for the detailed information! We are just getting ready to buy a feeder hog and butcher ourselves and you gotta have bacon! Thanks again!
This is my 3rd time curing bacon…my first 2 times were a different recipe and WAY too salty. The wet brine in this recipe is delicious. I smoked mine to 165 ° and we love it!! We will definitely use this recipe again. I thought about substituting some of the brown sugar with maple syrup, but the recipe is delicious as is. Thank you for sharing!
Good afternoon! So we are Trying this wet brine for the first time. It’s been resting in the walk in cooler since Tuesday (November 3). I’ve been checking daily to make sure everything is copacetic… I noticed today the liquid is quite slimy… Is that normal?
I haven’t done this recipe for a couple years, but I do not recall ever noticing that our brines have turned slimy. 🙁
I have lived a healthy keto lifestyle for 2 years now. (So lots of bacon) I just committed to buying a pig in march. I can’t find a local butcher willing to process it without nitrates/nitrites, so I am considering doing it myself. my question is, have you had any feedback about using Swerve brown sugar/ erythritol in place of the sugars in this recipe? Any further tips for skipping the Instacure? Thank you!
I have no advice on that because that’s some science beyond my pay grade. 😉 Hope you find your answer!
Have you used the ham brine to make bacon before?
I haven’t, we usually use another recipe for our bacon https://afarmishkindoflife.com/homemade-bacon/ but maybe when we have pigs next year I should try out the ham brine recipe for bacon for half of it!